Installing a Drain Port
Filling the Barrels
We were at the O'so brewery at 6:00am, and didn't finish until 11:00pm. It was a long brew-day to say the least. Marc and his head brewer, Mike, had planned and prepped the turbid mash schedule as best as one could, now it was time to actually go through the steps and learn/adjust along the way. It was incredible watching these two brew an unfamiliar style, yet hit every target number along the way. We had some troubles with the grain mill at the start of the day, and the initial dough in was very challenging, but after that, the process went nearly perfect.
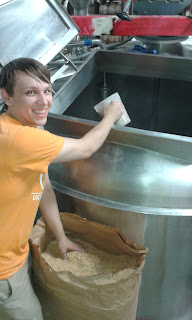 |
| Richard adding rice hulls to the Mash Tun. |
I tried to take pictures throughout the day, but many of them didn't turn out because of the steam coming out of the kettle. There was a student there filming and photographing the process, so I may get some of his pictures soon.
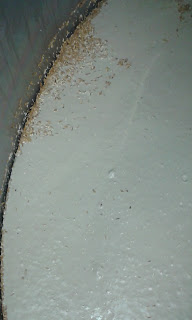 |
| Protein cake. |
I believe the above picture was taken during the final transfer of the turbid mash. As you can see, a large layer of protein has developed on top of the grain bed (even separating away from the wall). The next picture is the wort transferring over to the boil kettle. They were very happy with how clean it was!
 |
| Transferring to boil kettle. |
As the kettle was being filling, they started the boil. It took nearly an hour to fill the kettle with 35 barrels of wort, and it was boiling the entire time. During that time we added the hops. We used 40 pounds of 5 year old Liberty hops. They smelled like a hockey locker room.
 |
| 5 year old hops |
Some people assume that Lambics don't have much hops in them, but there are IPA's that use less hops than Lambics. The only difference is that they have been aged, which removes the bitter flavor of the hops, but retains its antimicrobial power. The boil went for 4 hours. Then the wort was transferred over to the whirlpool and left the hops behind. Wow do those hops ever expand!
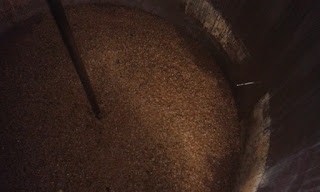 |
| Hops at the bottom of the Boil Kettle |
At this point that hops mass is about 8" deep and absorbing nearly 3 barrels of the wort. Marc cleaned this tank the following day and told me they had puffed up and it was about 2 feet deep!
Installing the Drain Port:
While much of the brewing process was going on, I was further prepping the barrels. We had to install the drain port prior to filling these barrels. I talked to Vinnie at Russian River and he sent me over the instructions on how to do it. Its always nerve racking drilling a whole into the barrel, so it was nice to know the exact method.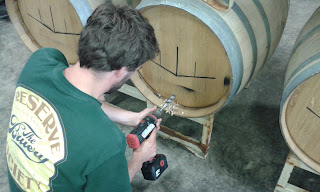 |
| Drilling a 15/16" hole into the barrel head. |
 |
| The hole is about 2 fingers up from the edge. |
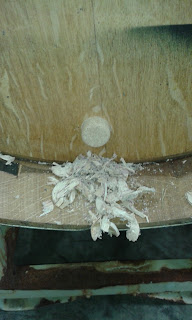 |
| Insert a standard Belgian cork into the hole. |
It is quite simple. The French Oak is pretty hard and can be a bit of a pain to drill through. We tried a couple different ways of inserting the cork on our practice 2x4. It is possible to hammer the cork in, but if you use a simple floor model corker, you can pull the handle part way so it just compresses the cork. The cork has a bit of memory at that compressed state giving you enough time to easily slide the cork into the hole. It will then quickly expand back to its normal state creating a very tight seal in the barrel.
Filling the Barrels:
So with the barrels prepped and the wort ready, it was time to fill the barrels. Initially our plan was to short fill the barrels and then after the primary had finished, to rack over the contents of two of the barrels to top off the other 12. As it happened, we had yielded more wort that estimated, and so we filled all 14 barrels to the top (stopping half way to add the yeast).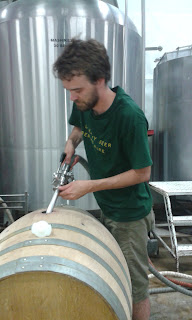 |
| Filling the barrel with lambic wort. |
 |
| Adding East Coast Yeast lambic blend to the barrel. |
And so, 17 hours after we started, we have 14 barrels of lambic sitting over the drain waiting for fermentation to start.
I figured it would be 2 days before the fermentation kicked off, but Marc sent me this picture the next day:
 |
| Fermentation in less than 12 hours! |


1 comment:
Wow.
Post a Comment